Race 57 Super Corsair
So what is my challenge for the month of April….
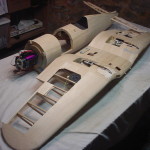
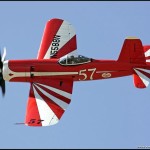
This is a Hanger9 .60 size Corsair ARF that will be turned into the Race 57 Super Corsair for a long time repeat customer…stand-off scale of course. Lets get started…
race57-002
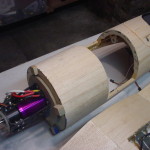
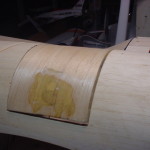
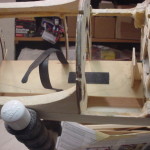
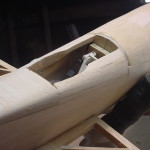
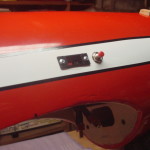
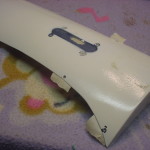
The Race 57 will remain electric powered but this battery hatch will be redesigned and/or relocated.
race57-003
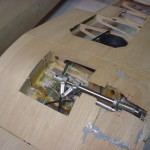
The Century Jet air retracts will be replaced with Lado electrics.
race57-004
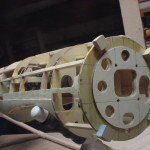
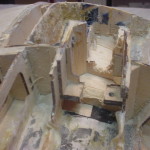
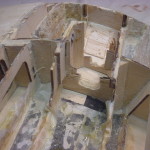
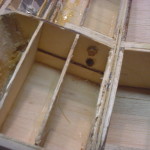
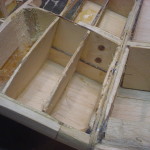
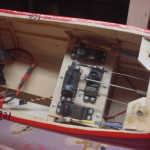
Inside the fuse which will be gutted and reworked.
race57-005
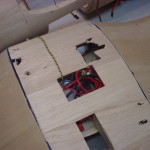
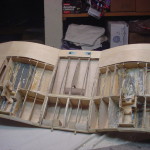
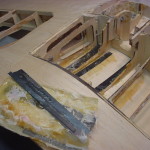
Top side of the wing needs a little work.
race57-006
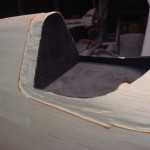
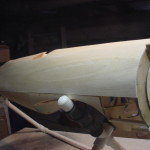
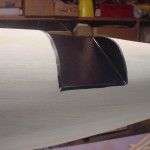
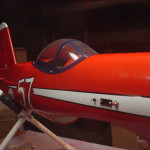
Canopy area will be reworked to use a P-51 style bubble canopy.
race57-007
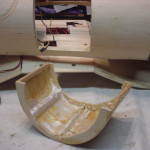
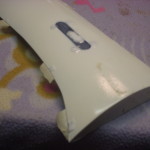
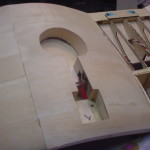
Old battery hatch will not be reused.
race57-008
Another shot of the battery hatch.
race57-009
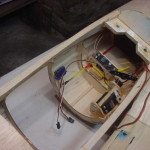
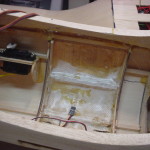
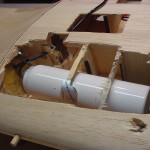
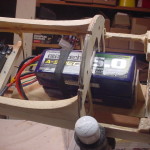
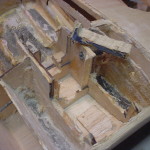
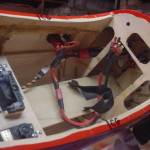
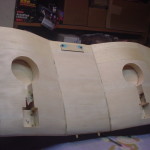
Inside the fuse with the hatch in place.
race57-010
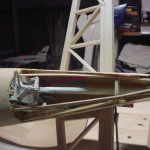
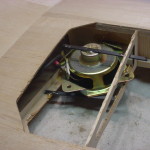
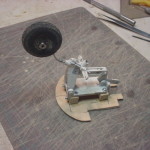
Mechanical tailwheel retract that will be reused but without the arrestor hook.
race57-011
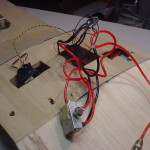
Spaghetti monster of air lines and sound system wiring that will all be removed.
race57-012
Sound system speaker in each wing will be removed.
race57-013
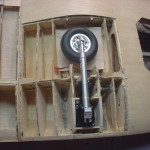
Sheeting around the retracts will be reworked once the new electrics are fitted.
race57-014
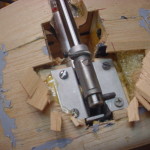
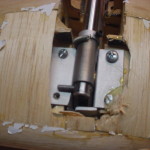
Digging out the air retracts.
race57-015
Opposite retract.
race57-016
Small air cylinder in the wing center section will have to go.
race57-017
One down...and out.
race57-018
Oops...looks like a section of the top main spar is missing. That is a definite rework.
race57-019
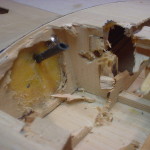
Closer shot of the missing main spar with the air tank removed.
race57-020
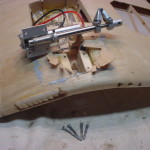
A few screws for good measure I suppose.
race57-021
Screws after using the extraction device.
race57-023
this is what happened when I leaned on the wing a bit too hard...cracked the center section right in half.
race57-024
Another random screw.
race57-025
Center section somewhat cleaned up.
race57-026
Time to make a rib pattern before I remove too much.
race57-027
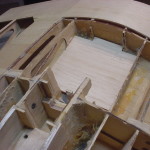
All cleaned out and ready for rebuilding. Notice that the wing spar joiners are dry as they were never epoxied in place.
race57-028
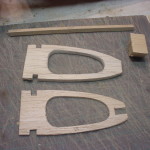
Two new ribs and a top main spar cut to size.
race57-029
Ribs and spar glued in place.
race57-030
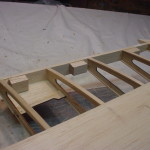
Rebuilt center section from the rear.
race57-031
Sheeting started to shore up the wing a bit.
race57-032
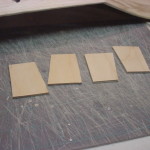
New 1/8" ply joiner box sides cut to replace the balsa ones supplied in the original ARF.
race57-033
Joiner box sides epoxied in place.
race57-034
1/8" balsa vertical grain webs added to the remaining bays.
race57-035
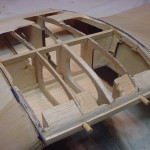
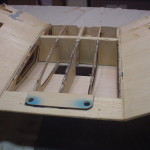
Top right cap strips are missing and the second rib out needs the top replaced.
race57-036
Rib pattern made from the left wing to fix the right side. Cap strips in place as well.
race57-037
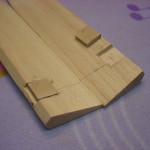
Replacing the CA hinges on the ailerons with Robart hinge points requires extra blocking.
race57-038
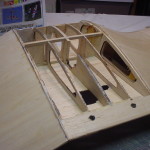
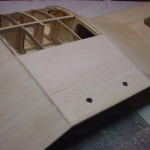
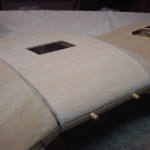
Top center section sheeting completed. Solid as a rock now.
race57-039
Time to strip the fuse while I wait on the retracts to arrive.
race57-040
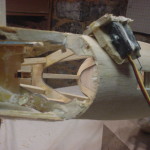
The inside front of the fuse was fiberglassed...most of this will go away.
race57-041
Ahh, the elusive tailwheel retract servo. This will be relocated to an area that is accessible.
race57-042
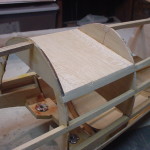
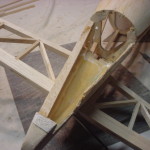
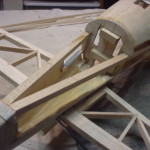
Front end cleaned up and the top stringer placed for some support.
race57-043
Rear fuselage stringers removed.
race57-044
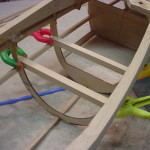
Drawing out the first new former.
race57-045
First former in place.
race57-046
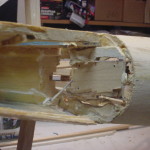
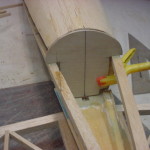
No guts no glory...time to start cutting the turtledeck away.
race57-047
New formers and top stringer in place.
race57-048
Left side stringers back in place. Right side will remain open until all of the pushrods are routed.
race57-049
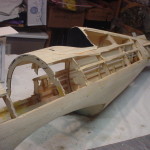
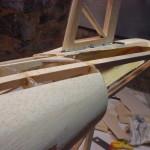
New cockpit area sheeting.
race57-050
Time to work on this bugger.
race57-051
Old tailwheel support former being removed.
race57-052
Down to whats left of the original former.
race57-053
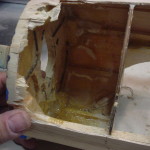
The main stringers were cut out of the tail section which weakened it considerably.
race57-054
Right main stringer extended with a kerf joint.
race57-055
Left main stringer was cut back two formers and replaced.
race57-056
Shaping the new tailwheel former.
race57-057
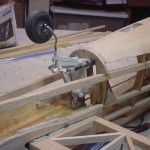
Tailwheel mounted to the new former.
race57-058
New former in place.
race57-059
3/8" basswood servo rails epoxied in place.
race57-060
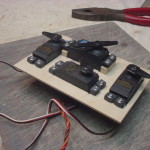
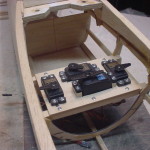
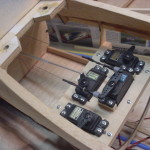
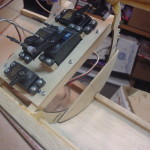
Making up the servo tray.
race57-061
Servo tray fastened to rails with 6 mounting screws.
race57-062
Tailwheel retract pushrod and steering pull-pull setup.
race57-063
Shot of the tailwheel with the linkages in place.
race57-064
Cleaning off the old sheeting.
race57-065
New sheeting in place as well as the pushrod housing for the elevator.
race57-066
Left side sheeting in place.
race57-067
Another shot of the sheeted left side.
race57-068
Remainder of the fuse front sheeting removed and firewall cleaned up
race57-069
Spacers for the rear of the firewall.
race57-070
Spacers glued in place.
race57-071
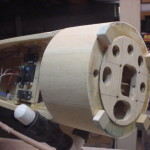
4" diameter 1/8" ply plate added to backside of firewall.
race57-072
Adding some meat back into the firewall for the correct mounting hole locations.
race57-073
Because I didn't originally put this ARF together, I've added a few epoxied dowels through the stab mounting plate for peace of mind.
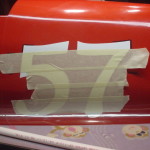
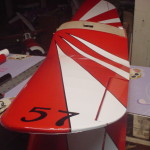
race57-074
Original rudder/tailwheel servo bay sheeted over and sanded smooth.
race57-075
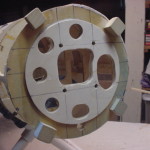
6" diameter 1/8" ply plate added to front side of firewall and motor mounted.
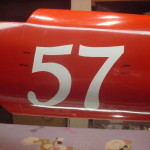
race57-076
View of the backside of the reworked firewall.
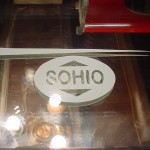
race57-077
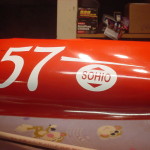
Front view of the firewall. Should get plenty of cooling air movement.
race57-078
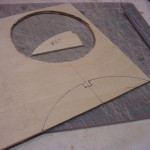
Laying out a former for the battery tray.
race57-079
Battery tray former glued in place.
race57-080
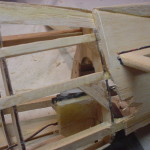
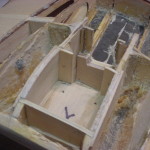
Battery tray...the post will prevent the batteries from being pushed up against the motor mounting screws.
race57-081
Batt tray glued in place.
race57-082
Mock up of the 10S setup. A 6S will also fit on the tray.
race57-083
Right fuse side sanded and ready for sheeting.
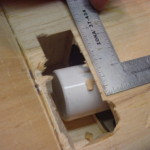
race57-084
Right side sheeting in place.
race57-085
Bottom front sheeting in place.
race57-086
Time to close in the tailwheel a bit.
race57-087
Adding blocks for shaping.
race57-088
Rough shaped with a razor plane.
race57-089
Final sanded and ready for filler if needed.
race57-090
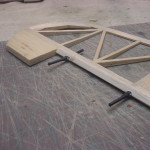
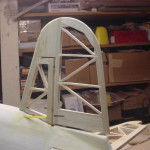
Final check fit of the fin/rudder before epoxying the fin in place.
race57-091
The rudder torque rod and tube will no longer be used so I will clean up the rudder leading edge a bit.
race57-092
1/4" removed from the leading edge and solid balsa glued back on.
race57-093
Robart hinge points will be used throughout the model.
race57-094
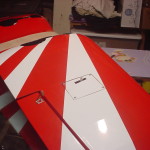
Marking the location of the rudder control horn.
race57-095
The ratty elevator leading edges will get the same 1/4" balsa replacement as the rudder.
race57-096
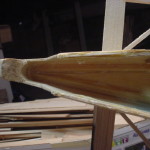
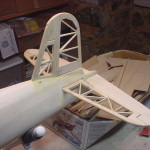
Tail surfaces all hinged and ready to go.
race57-097
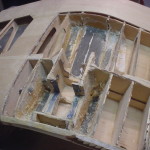
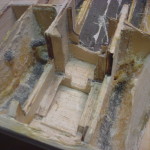
The Lado electric retracts have arrived so its time to dig into the bottom side of the wing.
race57-098
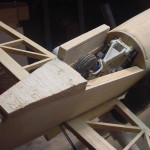
The mechanical retract belcrank mounting plate will go away and that plywood main spar will have to be beefed back up to its former self.
race57-099
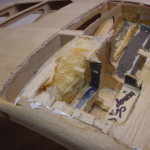
Digging down to the original gear mounts which are painted blue. The spray foam will go away as well.
race57-100
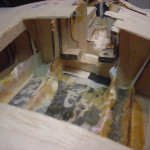
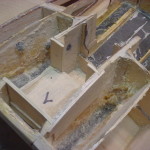
First wheel bay all cleaned up and ready to start over.
race57-101
Cutting out the built up radiator inlet.
race57-102
Rebuilding the leading edge at the radiator inlet. I will simulate these later with Monokote trim.
race57-103
These holes in the leading edge were needed to accept the plastic machine gun ports that came with the original bARF.
race57-104
No machine guns are needed for the Race 57. Some balsa dowel fills them in nicely.
race57-105
The original aileron servo mounting needs a little work.
race57-106
Reworked aileron servo mount.
race57-107
All necessary bottom sheeting removed and both wheel wells cleaned up.
race57-108
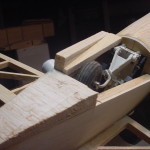
The original gear mounts don't have enough meat left on them to be of any use so they have to go and be replaced.
race57-109
Another shot of the gear mounts looking from the back.
race57-110
Digging out the old gear mounts.
race57-111
Belcrank mounting plate removed.
race57-112
Anything that I can pull up by hand is leaving.
race57-113
The original triangle stock will be used to reinforce the new gear mounting plate.
race57-114
New 3/8" aircraft ply mounting plate epoxied in place.
race57-115
Rebuilding the ribs around the gear mounts.
race57-116
Reinforcing the plywood spar that was previously chopped away.
race57-117
I have to assume the plywood joiner isn't glued inside the box since it wasn't in the center section. The outer ones aren't as easy to get at so I've drilled and epoxied 2 1/4" dowels through the joiner.
race57-118
Dowels sanded flush.
race57-119
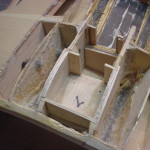
Completed rework on the left side gear mount.
race57-120
1/16" balsa wheel well floor added.
race57-121
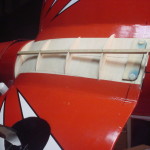
This rib needs touched up to accept sheeting.
race57-122
Good as new.
race57-123
Right side gear area gets the same treatment as the left. The Lado retract struts were too short for this model so I'll move back to the fuselage until longer struts arrive.
race57-124
A little rib reinforcing at the aft aileron servo hatch screws. These ribs tend to crack or break if you use too much pressure when installing the servo hatch.
race57-125
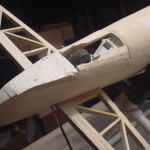
Starting the fuselage covering in the cockpit area.
race57-126
I find it easier to cover the edges of surfaces first so that you don't have to worry about overlapping the covering around curved areas.
race57-127
Elevator halves covered and ready for hinging.
race57-128
Corners and edges done first so that your cuts don't have to be exact every time.
race57-129
The fuselage will be covered in 3 pieces...one top center to bottom center on each side of the rear fuse and one to finish off the front.
race57-130
Left rear Monokote shrunk to fit.
race57-131
The front half is covered in one continuous piece with the seam on the bottom.
race57-132
Main fuse covering completed.
race57-133
Only one side of the tail feathers is covered before hinging so that I can inspect the glue joint on the hinges.
race57-134
Where possible I like to add an epoxy/milled fiberglass bump to the back side of the hinges for added security.
race57-135
Hard to see here but I put some grooves on the elevator joiner wire with a Dremel cut off wheel. These grooves will give the epoxy something to grab onto.
race57-136
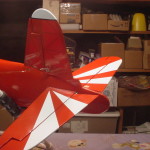
Tail feathers hinged and covered.
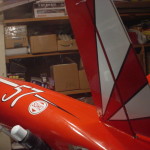
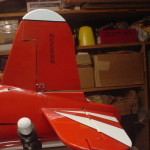
race57-137
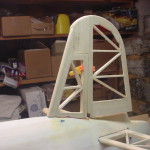
Fin/rudder tip trim.
race57-138
I've run some black Monokote through the Smart Stripe tool to make 1/8" stripe tape. Making your own from scrap covering saves money and the iron on covering will last longer.
race57-139
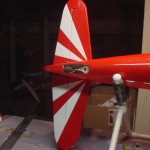
Laying out the starburst on the stabilizer.
race57-140
Making a pattern and cutting multiple trim pieces ahead of time makes life simpler. Just be sure to make mirror images of each piece where required.
race57-141
Stabilizer top.
race57-142
Stabilizer bottom.
race57-143
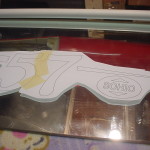
I used Autocad to trace all the markings from a downloaded picture of the Race 57 and then scaled them accordingly.
race57-144
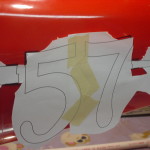
Using the pattern to set a few benchmarks to place the markings.
race57-145
Here I've marked the edges of the 5 and 7 with a black Sharpie. When done placing the graphics, the Sharpie will wipe away with a little denatured alcohol.
race57-146
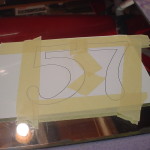
If you do a lot of iron on covering and don't have a mirror or piece of glass to work on, get one. It will make your life much simpler. I've ironed a piece of white Monokote down to the cleaned mirror and taped a pattern over it.
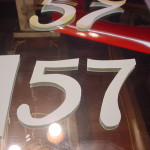
race57-147
After cutting out the graphic, remove the unwanted covering but don't disturb your graphic.
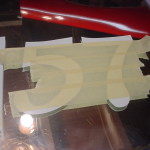
race57-148
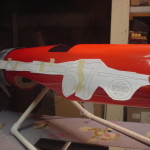
Use masking tape to hold your graphics position and orientation.
race57-149
After peeling the graphic from the glass, tape it in position and run your iron right over the masking tape making sure to get the edges sealed good.
race57-150
Remove the masking tape and hit it with the iron again for good measure.
race57-151
More graphics cut out on the mirror...
race57-152
...and placed the same way as the 57
race57-153
Left side graphics and trim tape complete.
race57-154
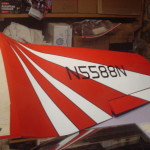
The tail numbers were also drawn in Autocad and cut out of black Monokote.
race57-155
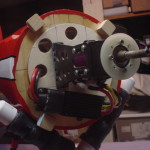
Motor and ESC mounted to the firewall.
race57-156
Battery wiring harness with a safety shunt and high voltage spark arrester.
race57-157
Outside view of the shunt/arrester.
race57-158
Elevator hook up.
race57-159
Rudder hook up.
race57-160
All pushrods hooked up to their respective servos.
race57-161
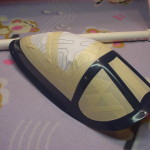
Fitting the P-51 style canopy.
race57-162
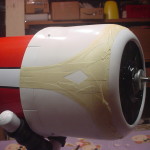
The fiberglass belly pan has some holes that need filled.
race57-163
Using an epoxy/microballoon mixture to fill the holes.
race57-164
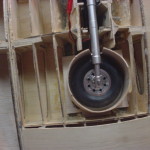
The longer Lado struts have arrived so I can now build the wheel wells.
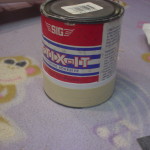
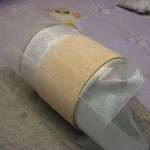
race57-165
The wheel well diameter works out to be a Sig Stix-it can. I've wrapped the bottom with paper and tape to build out flush with the lip on the can.
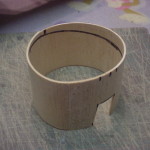
race57-166
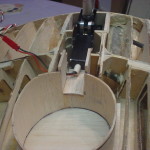
Using 1/16"balsa for the wheel well walls.
race57-167
The bottom needs cut at an angle to fit properly in the wing.
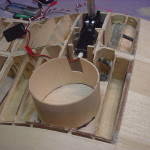
race57-168
Vertical walls in place. I used the can while gluing in place to ensure it stayed as round as possible.
race57-169
A shot with the wheel retracted.
race57-170
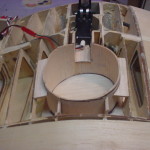
Building out the strut tunnel.
race57-171
A little reinforcing for the fragile 1/16" balsa walls.
race57-172
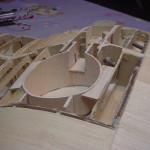
Sanded to the wing contour and ready for sheeting.
race57-173
Left side sheeting completed. As I snapped this picture I realized I forgot to run the aileron servo extension wire...awesome. I was able to cut out the bottom of the strut tunnel and miraculously fish the wire through.
race57-174
Belly pan filler sanded smooth and ready for paint.
race57-175
Second wheel well completed...this time with the aileron servo extension wire in place the first time.
race57-176
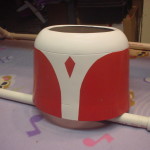
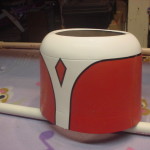
Masking off the cowling.
race57-177
Masking off the canopy.
race57-178
Cowl painting completed.
race57-179
I used 1/8" vinyl trim tape for the cowl so I didn't have to run the iron over the fresh paint job.
race57-180
Embedding some 1/4" aircraft ply in the ailerons to mount the control horns to.
race57-181
Completed fuselage...turned out nice.
race57-182
Close up of the canopy area.
race57-183
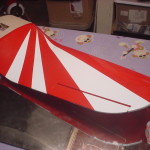
Right top wing sunburst pattern.
race57-184
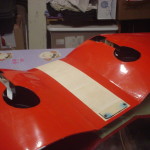
Bottom center section will be left uncovered until the fiberglass belly pan is mounted.
race57-185
Bottom left wing sunburst pattern.
race57-186
Top left wing striping tape and graphic completed.
race57-187
Completed top right wing.
race57-188
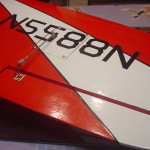
Bottom left wing graphics and servo hookup.
race57-189
Well that's disappointing....fiberglass belly pan doesn't mate up to the fuselage.
race57-190
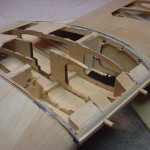
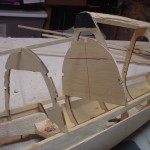
Time to break out some more balsa and make a new belly pan.
race57-191
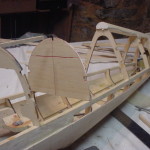
Rear belly pan former glued in place.
race57-192
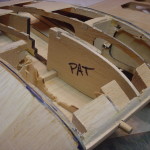
Laying out the remaining formers using the fiberglass part as a guide.
race57-193
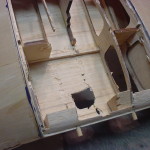
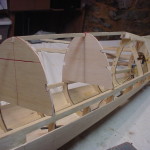
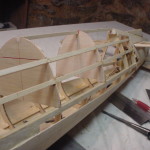
All formers and center stringer in place and ready for sheeting.
race57-194
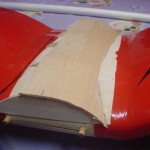
First half of sheeting glued in place.
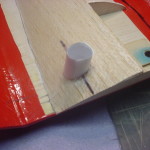
race57-195
Wing bolt hole cut and paper tube glued in place.
race57-196
Paper tube cut and sanded flush with the belly pan.
race57-197
Remaining half of sheeting glued in place.
race57-198
Now that's a much better fit.
race57-199
Lado retracts mounted for the last time.
race57-200
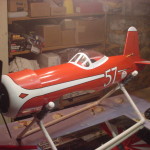
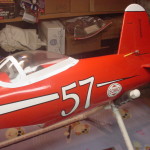
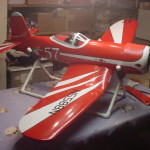
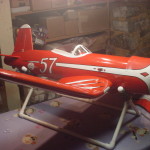
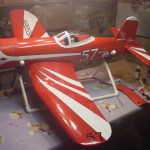
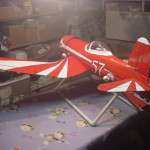
Finished product ready for delivery.
race57-201
Right side view.
race57-202
Left side view.
race57-203
Left rear quarter view.
One Response to “Race 57 Super Corsair”
Leave a Reply
Please note: Comment moderation is currently enabled so there will be a delay between when you post your comment and when it shows up. Patience is a virtue; there is no need to re-submit your comment.

Whoa! What a beautiful conversion. Brent you are a true artist. The attention to graphic excellence is quite remarkable. Love the belly pan rebuild. The original just didn’t cut it. The wheel well rebuilds are super strong and better than new. The whole plane is a work of art and its .60 size airframe will really stand out in the air.