Clancy Aviation Lazy Bee
The Lazy Bee will be built and made ready to fly for a customer in Ohio. The Bee came to me with the wing already built but it was crushed during shipping and will have to be re-worked. I don’t think the wing could have been packaged by the owner any better than it was so I have to assume the shipper used it for a football game or perhaps bench seating, The wing is fairly fragile when built to plan so I may substitute some spruce or basswood for the main spar in lieu of balsa. The spruce will add a good bit of strength with negligible weight gain.
On initial inspection I had planned to salvage the wing tip bows and build the rest from scratch. After looking closer I now plan to re-kit the wing and salvage most of the shaped material. I might have given a go at repairing this wing if it weren’t for the main spar being split in half right near the center-line.
LazyBee-001
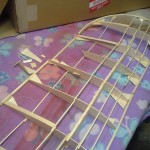
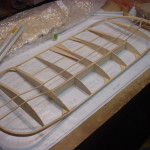
This is what I was greeted with after removing the bubble wrap.
LazyBee-002
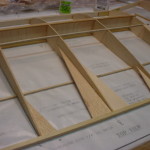
Another shot of the damaged wing.
LazyBee-003
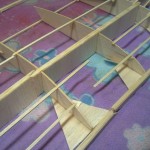
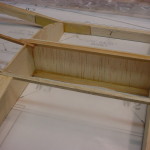
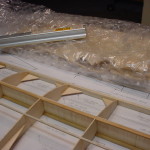
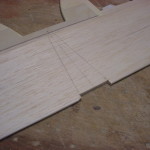
The carnage at the trailing edge. You can see the main spar split in half at the center rib.
LazyBee-004
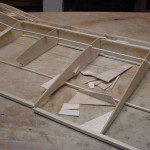
This rib fared the worst but at least all of the pieces are here.
LazyBee-005
Good as new...and probably stronger with the thin CA wicked into the grain.
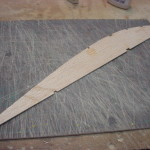
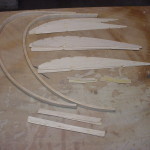
LazyBee-006
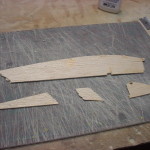
This is what I ended up salvaging from the wing.
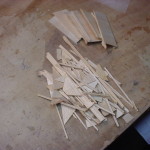
LazyBee-007
And this is destined for the dumpster.
LazyBee-008
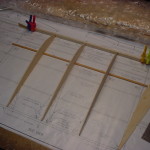
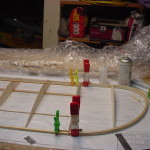
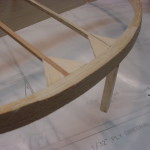
Starting the wing re-construction. The main top and bottom spar will be spruce/basswood from tip to tip. I've also epoxied one half of the dihedral braces to the leading edge.
LazyBee-009
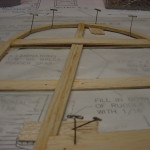
Tip rib glued into position on the wingtip bow.
LazyBee-010
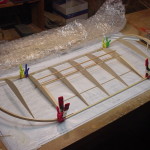
All ribs in place and top main spar glued in. the wingtips are shimmed up 2" and epoxied to the dihedral braces.
LazyBee-011
Balsa top rear spar and cap strip added.
LazyBee-012
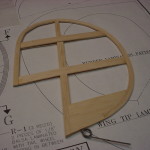
The first two tip spars added. To make the bend I cut halfway through the bottom side and "cracked" them over the tip rib. A generous amount of thin CA wicked into the cracked joint strengthens it back up.
LazyBee-013
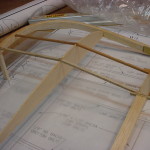
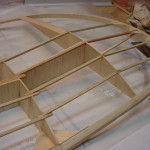
1/16" balsa shear webs are glued in place next.
LazyBee-014
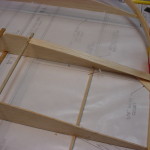
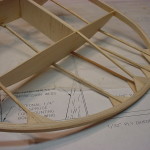
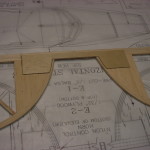
Trailing edge gussets glued in place.
LazyBee-015
Leading edge gussets glued in place.
LazyBee-016
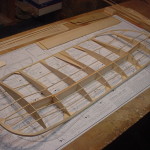
At this point I was comfortable removing the wing from the building board.
LazyBee-017
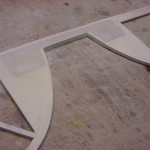
Each spar gets 2 gussets at the wingtip bow.
LazyBee-018
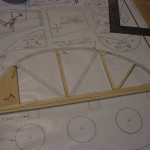
Shear web glued in place in the first tip bay.
LazyBee-019
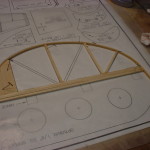
Left wingtip spars/gussets completed.
LazyBee-020
The completed wing minus some shaping of the leading and trailing edges.
LazyBee-021
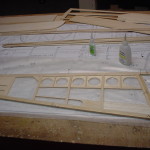
Fuselage construction begins with making the slab sides.
LazyBee-022
1/8" balsa infill at the tail area.
LazyBee-023
Right side completed.
LazyBee-024
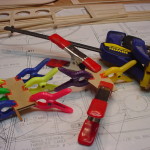
After flipping the right side over I covered it with wax paper and pinned a perimeter around it. This will help ensure that the two sides are exactly alike.
LazyBee-025
Left side completed on top of the right side. Make sure to build a right and left side.
LazyBee-026
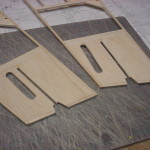
Cutouts for the elevator joiner area.
LazyBee-027
Laminating a few parts with epoxy. From the left is the axle box, the cabin top, and the firewall.
LazyBee-028
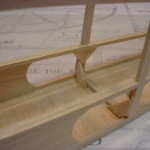
Making identical top and bottom cross pieces ahead of time is easier now and will save time later.
LazyBee-029
Cabin top glued in position.
LazyBee-030
Tail end temporarily clamped together while installing the crosspieces and squaring everything up.
LazyBee-031
Lots of temporary cross bracing to hold everything square.
LazyBee-032
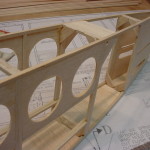
Stringer doublers extend out to where the firewall will be. The axle box is also glued in place.
LazyBee-033
1/16" bottom sheeting applied before lifting the fuselage off the plan.
LazyBee-034
1/8" balsa cheeks added. The fuel tank floor keeps these at the correct angle.
LazyBee-035
Top former glued in place.
LazyBee-036
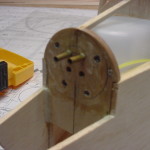
Firewall glued in place. You can see an epoxy/milled fiberglass fillet at the corner which is on the backside as well.
LazyBee-037
Some gussets applied prior to removing the temporary cross bracing.
LazyBee-038
More gussets on the fuselage formers.
LazyBee-039
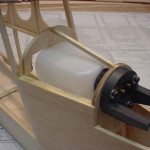
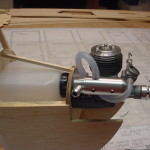
Engine mount and fuel tank fitted.
LazyBee-040
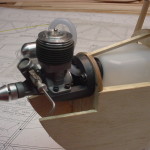
Norvel .074 secured to the engine mount.
LazyBee-041
Right side view of the Norvel.
LazyBee-042
Firewall soaked in thin CA to fuel proof it. Notice the holes where the tank originally poked through before I raised it a bit.
LazyBee-043
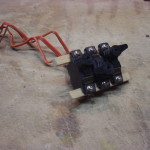
A little cushion for the fuel tank. The throttle cable shroud can also be seen here.
LazyBee-044
1/2 of top front sheeting fitted.
LazyBee-045
Top sheeting complete. I've filled in the unused tank holes with wood dowel and soaked in thin CA as well.
LazyBee-046
First of two layers of 1/16" balsa bottom front sheeting
LazyBee-047
Front end sheeting complete.
LazyBee-048
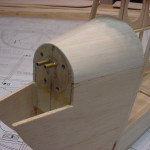
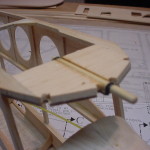
Front wing hold down dowel secured with a thread wrap soaked with thin CA.
LazyBee-049
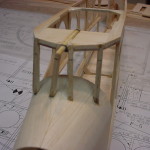
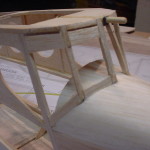
Windshield frame members in place.
LazyBee-050
Windshield area sheeting started.
LazyBee-051
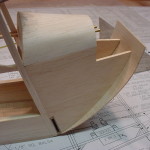
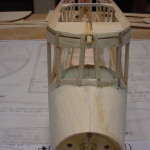
Complete windshield area sheeting.
LazyBee-052
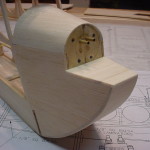
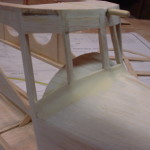
I've added some filler around the windshield frame to transition it into the fuselage.
LazyBee-053
Tailwheel wire bent and ready to be sandwiched between 2 1/8" balsa rudder bases.
LazyBee-054
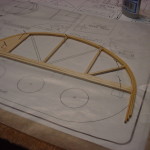
Shaping the rudder bow. I opted to build the tail bows right on the plan in lieu of making a form.
LazyBee-055
Start of the actual rudder construction.
LazyBee-056
Bow back in place and glued to the balsa strips.
LazyBee-057
Main rudder post in place as well as one of the top sheeting pieces.
LazyBee-058
Rudder completed and ready for final sanding.
LazyBee-059
Laying out the elevator pieces required to shape the bows.
LazyBee-060
First bow lamination in place.
LazyBee-061
All 3 laminations glued in place.
LazyBee-062
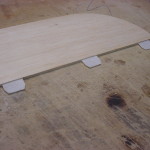
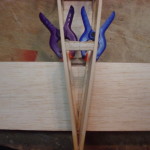
The center of the elevator is reinforced with 1/32" plywood on top and bottom.
LazyBee-063
I didn't like the fact that the covering would have to step up and over the plywood reinforcements so I feathered them out with some balsa filler.
LazyBee-064
Hinge slots are a real joy to cut into 1/8" thick material.
LazyBee-065
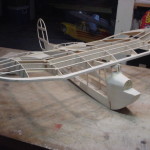
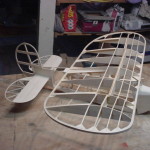
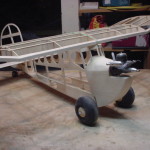
All together for the first time.
LazyBee-066
Another angle of the main structure.
LazyBee-067
The stabilizer/elevator went beyond the end of the fuselage and interfered with the rudder post so I notched the front of the stabilizer to move it forward about 1/4".
LazyBee-068
All major hardware installed for a preliminary CG check before placing the radio gear. At this point it is pretty well balanced so I will mount the servos in the recommended location and use the receiver battery to finalize the CG.
LazyBee-069
Servos mounted to rails which will be epoxied into the fuselage. There is no possible way to get my hands down in the fuselage where the servos mount so I am doing as much work as possible outside the fuselage before gluing them in place.
LazyBee-070
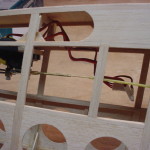
Control horns installed and pushrods routed.
LazyBee-071
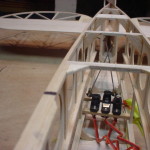
Another shot of the pushrod setup looking aft inside the fuselage.
LazyBee-072
Vertical post added on the left side of the fuselage for the throttle cable support.
LazyBee-073
Another view of the throttle cable supports.
LazyBee-074
There was too much slop in the front half of the throttle cable so I added another post and bracket above where the receiver switch is located.
LazyBee-075
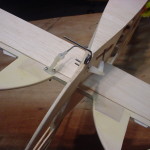
The stabilizer was such a good and tight fit that I glued it in place earlier with a liberal amount of thin CA. Here I'm adding 1/8" square reinforcing that is epoxied in place.
LazyBee-076
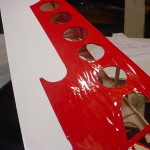
The Bee will be covered in the original red/white scheme. Wing bottom center section is covered first.
LazyBee-077
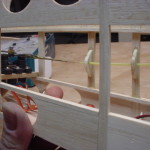
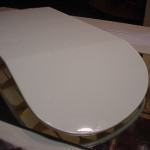
Bottom of a wingtip covered with Monokote. There are no tricky curves on the bottom of the wing.
LazyBee-078
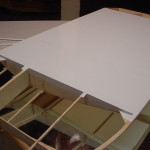
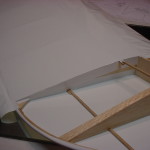
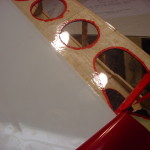
Wing top center section covered. Notice the large amount of covering extended onto the rib to help prevent the covering from sagging later.
LazyBee-079
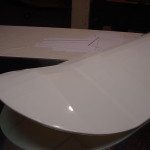
The white base color on the wing is finished.
LazyBee-080
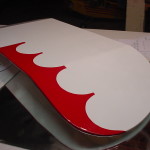
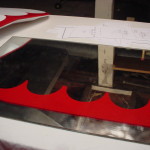
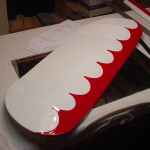
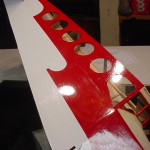
First piece of red trim applied to the bottom of the wing. The patterns for the trim shapes are included on the plans.
LazyBee-081
Having a mirror or plain sheet of glass for cutting Monokote is a must in my opinion.
LazyBee-082
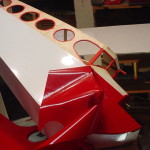
Completed wing covering.
LazyBee-083
Completed elevator covering.
LazyBee-084
Completed rudder covering.
LazyBee-085
Covering edges and corners first will save time and headaches later.
LazyBee-086
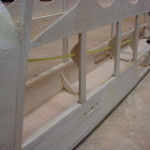
Fuselage left side base color applied. The window edges were given treatment with a red Sharpie marker so that I didn't have to try to cover them with Monokote.
LazyBee-087
The axle box has a reinforcing plate that needs glued on the outside. Remove the covering for a good wood to wood glue joint.
LazyBee-088
Reinforcing plate glued in place.
LazyBee-089
Right fuselage side trim color is tacked in place in order to make the window cutouts.
LazyBee-090
After cutting out the windows, peel the trim color back off of the fuselage.
LazyBee-091
A piece of clear Monokote was used to cover the window area.
LazyBee-092
The trim piece with the windows already cut out is then moved back in place and ironed down.
LazyBee-093
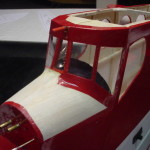
Clear Monokote is also used for the front windshield. Strips of red are then installed across the top and bottom of the windshield.
LazyBee-094
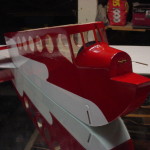
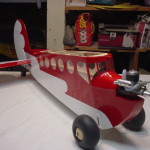
Completed fuselage covering.
LazyBee-095
Control surfaces hinged and all fuselage components installed.
LazyBee-096
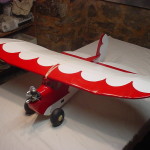
Top view of completed model.
LazyBee-097
Left side view.
LazyBee-098
Ready for delivery.
7 Responses to “Clancy Aviation Lazy Bee”
Leave a Reply
Please note: Comment moderation is currently enabled so there will be a delay between when you post your comment and when it shows up. Patience is a virtue; there is no need to re-submit your comment.

Very helpful post re Bee build. Building from plan, I wonder whether the wing structure and tips securing method could do with some beefing up? Specifically I made double thickness laminated wing ribs and an extra rib at the tip joint to glue to end wing rib.
Otherwise wing looks a bit frail to me.
The wing is without a doubt frail to say the least. I replaced the balsa main spars on this one with spruce and it made a considerable difference. However, with the amount of these birds in the air, I would say that the original design holds up quite well despite being frail.
Hi again …
A query about the front wing mount. Not used to seeing a single central peg and would prefer a dowel at each side, like the t/e one.
In your experience is the front one secure enough?
Thanks
jc
I’ve never flown one of these myself but have seen several over the years. The wing mount at the front, if done correctly with the thread wrap, is plenty strong enough. I don’t think i have ever heard of any issues with it. You could certainly run a dowel across the fuselage if that is your preference but be certain that it is secure enough not to pull up through the fuselage sides/cabin top.
I have the 72″ version and am getting a lot of tail/rudder flutter over about 1/3 throttle. The pushrod guide runs from just behind the rudder servo to the outside of the tail where the pushrod exits. I thought it might be a sloppy servo, but it appears that the pushrod itself is the only thing that moves side to side. Don’t know how to stop the flutter.
hi,i am looking for a lazy bee kit or plans.i would prefer a kit.please let me know,thanks,tom
Tom…I do not sell the kit but you can buy a short kit at http://www.eurekaaircraft.com/plan_kits/lazybee.htm There is a link on that page to download the plans as well plus they can be found on numerous other sites online. In all honesty, there are only a dozen or so cut parts to this kit so it would be super simple to cut by hand. Let me know if you have trouble downloading the plans and I will email you a set.